Factorio: read a rail signal as the boundary of a block
A rail signal reports a rail block rather than a personal instruction to one nearby train. Begin with a small practice track and the block overlay. Understanding the boundary makes signal placement more useful than copying a pattern without knowing which rail sections it separates.
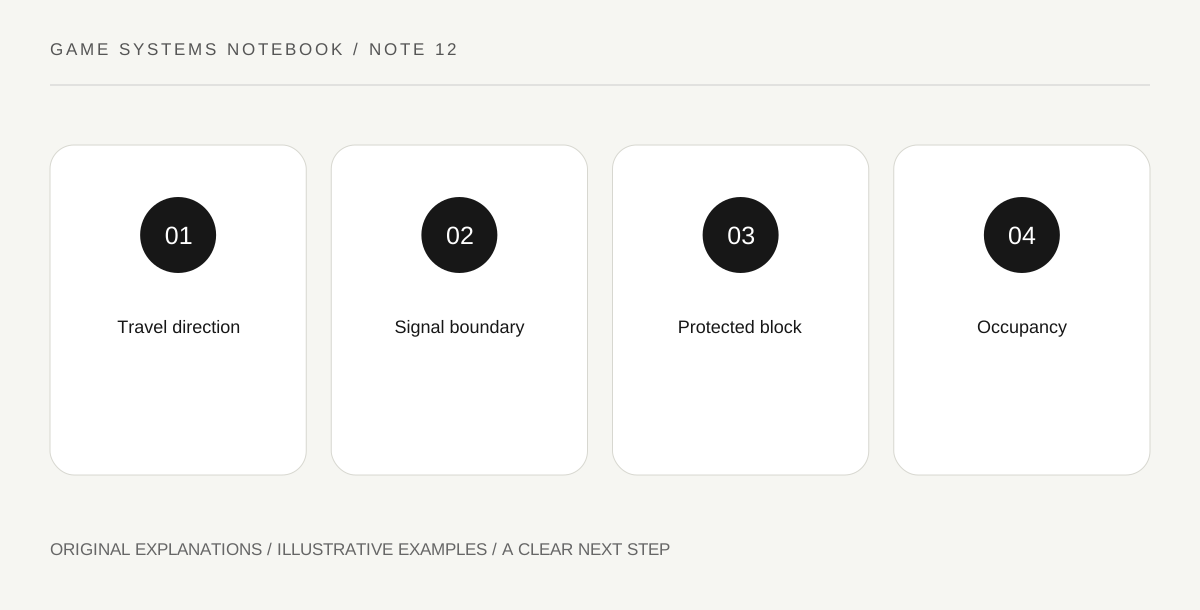
Original explanatory diagram. Read the full method and limitations below.
Reveal the blocks before running trains
Hold or select the relevant signal tool to inspect the game’s block visualization. Connected rail sections between signal boundaries form blocks according to the rail network. A visually separate-looking branch may still belong to the same block if no appropriate boundary divides it. Keep the first exercise small enough to see the entire connection. You are learning the region a signal protects, not merely choosing a convenient tile beside a rail.
Place the signal for the intended direction
Signals belong on the appropriate side for the train’s travel direction. Use the placement feedback to confirm the relationship rather than describing a side as left on the screen without a direction of travel. For a beginner exercise, a one-way route is easier to reason about than a mixed two-way junction. Incorrectly oriented signaling can make a route unavailable even when the rails appear physically continuous.
Interpret red and green through occupancy
A red signal can indicate that the next block is occupied or otherwise unavailable; green indicates permission under the signal’s current conditions. Inspect which block the signal refers to before assuming the nearest visible train caused the state. A long unsegmented track can make a distant train relevant. This is why the block overlay is useful: it connects the signal’s state to an actual rail region rather than an intuitive radius around the post.
Add intersections only after the boundary is clear
A crossing introduces the question of whether a train can enter without blocking other routes. Chain signals and ordinary rail signals serve different roles there, so study a complete intersection using the official tutorial before scaling. Do not scatter more signals at random to make a red light disappear. Record the intended block before and after each placement. The learning outcome is a boundary you can explain, not just a green lamp obtained by trial and error.
Illustrative worked example
Illustrative track: A practice line has one signal boundary and a train farther along the connected section. The player uses the overlay to see that the occupied region extends farther than expected. They sketch that block, then plan an additional appropriate boundary on a simple one-way route. The example describes what to inspect; it does not claim that a particular unshown signal arrangement is a complete or verified junction design.
Questions that come up
Does a signal reserve only a small distance ahead?
No. Its meaning concerns the next rail block under the signaling rules, which can extend through connected track until another boundary.
Can I solve every junction with ordinary rail signals?
No. Junction planning also involves chain-signal behavior and space for trains to clear conflicts. Use a complete appropriate design and understand its blocks before adding traffic.
References and scope
These sources support the factual background. Examples and exercises are original illustrative teaching material. References do not imply endorsement.
- Official Factorio Wiki: Rail signal — Rail blocks, signal states and direction.
- Official Factorio Wiki: Tutorial:Train signals — Block-based signal reasoning and intersection context.